If you’re like me, you’re looking forward to the holiday break because there will be so much more time to play LEGO Fortnite. But if you’re just now getting some serious free time, perhaps you’ll be loading it up for the first time.
The mode is very much in its infancy as of late December 2023, with the team working on it slowly but surely rolling out some much-needed quality-of-life improvements. But like any survival game, staying alive is no easy task when you have to take on the elements and enemy creatures.
When you first load in, an NPC should be there to walk you through the first steps, such as building a campfire and your first structure. But they don’t tell you everything you need to know. That’s where our guide comes in.
Tips and tricks for LEGO Fortnite beginners
Be picky with your village site, build near a biome
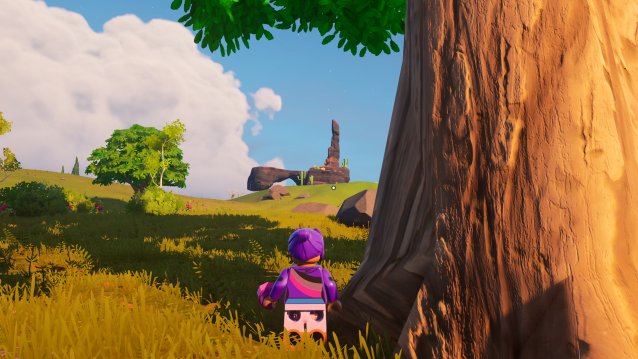
Your instinct may be to place your first campfire down right where you spawn, next to the NPC guiding you through the basics. But I would consider exploring the area around you first, revealing space on your map, and building a village near the border of at least one other biome.
There’s no limit to villages in LEGO Fortnite, so even if you start a village in the middle of the grasslands, nowhere near another biome, you can very easily head to a border and start a new one.
You definitely want to stick to building a village in the grasslands biome itself, given how harsh both the desert and snowy mountain biomes are. But building a village in the grasslands near the border of another biome will make the task of exploring those biomes for rarer resources much easier later on, once it’s time to start upgrading your crafting bench and your tools.
Build extended roof attachments so you can use your stations anytime
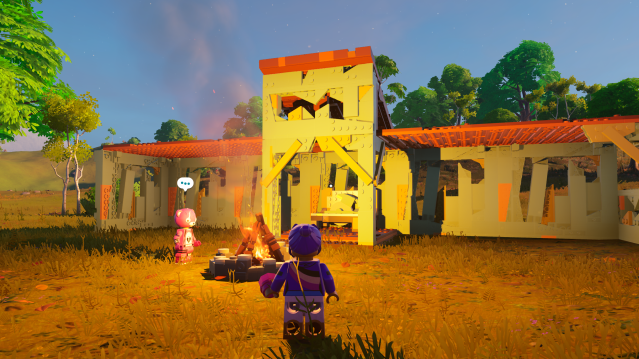
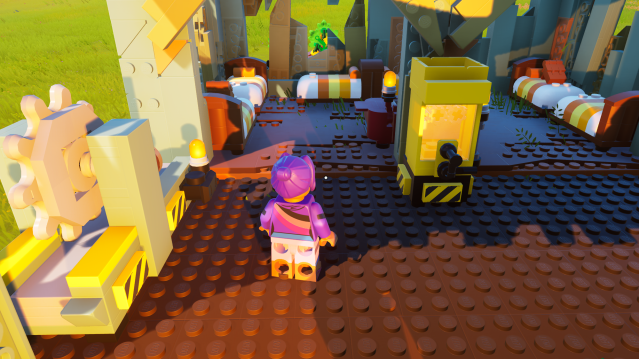
Once you have your campfire down and your first shack structure, stick your crafting bench inside. Rather than waste resources on building more structures, build extended roof attachments onto your shack so you can place your future stations under cover.
Don’t waste resources building multiple shacks for your stations like I did in my first playthrough.
As the guide NPC tells you, you cannot use stations while in the rain. But as long as they have some cover, they can be used, and the most efficient way of covering them is definitely building Shack Wide Floors that connect to your Simple Shack structure. You can add walls later to keep the nighttime skeletons off, but the makeshift roof is definitely the first priority.
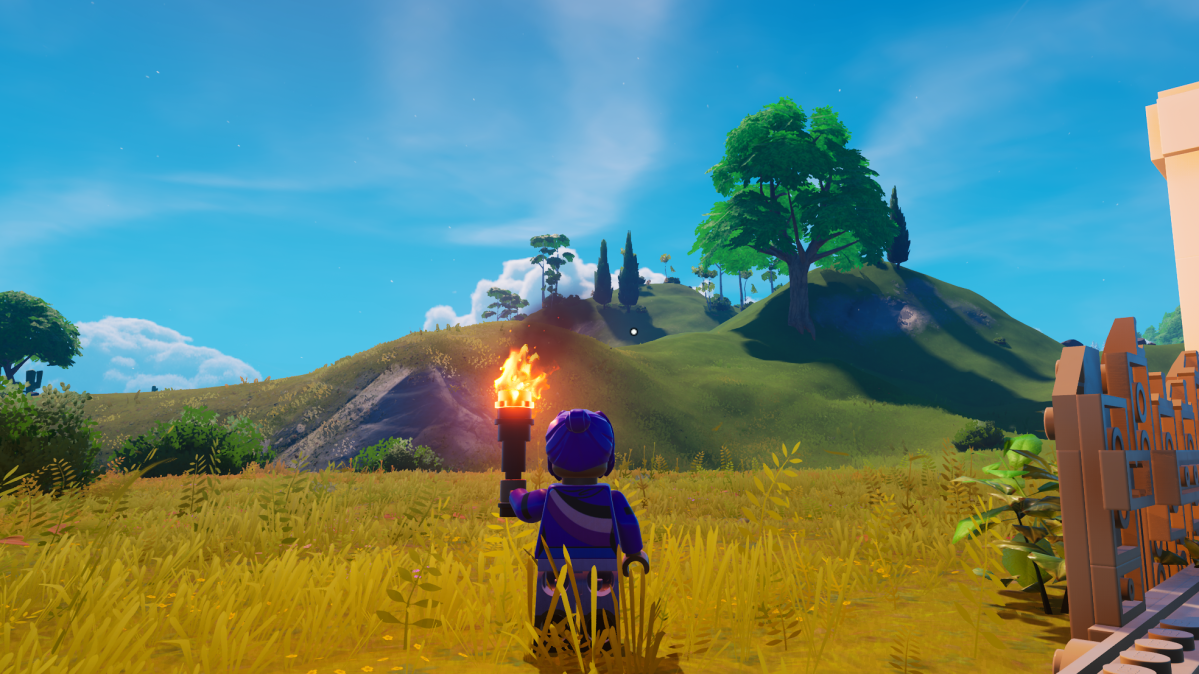
The first item you craft should be a torch
After your structure is made and your crafting bench is placed, the very first item you’ll want to build is a torch, which requires just three Wood and five Vines. Wood can be acquired early by picking it up off the ground or knocking down bushes or small trees without a tool, and Vines can be grabbed from bushes or wild pumpkins.
A torch provides two main uses. The obvious one is that it helps you see at night, but it also can keep you warm while you continue to build and gather resources. Stick the torch in your offhand slot and you can keep working through the night, and you can throw down the two spares you have to better light up the area.
Grab as much food as you can
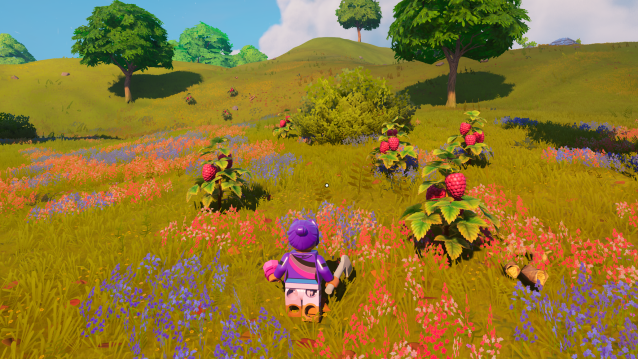
While you’re working, you should be keeping a close eye on your hunger level. Collecting resources and planning a village can be easily distracting.
Early on, make use of what should be a plentiful amount of Raspberries and Pumpkins around you, as well as the occasional corn. There should be plenty for you to stay fed during the early days, and even enough to hold onto for when it’s time to start planting a garden.
Recruit a villager right away as a companion, especially if you’re solo
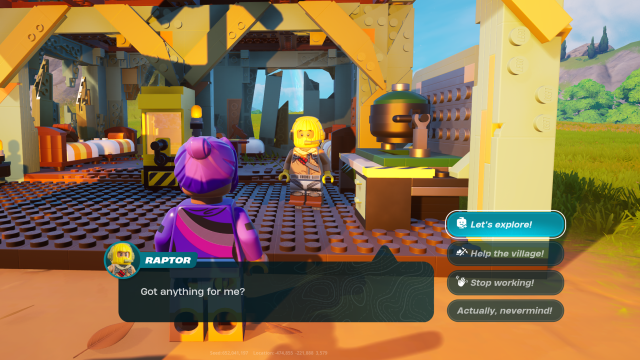
Once you get your village started, you should make your first potential permanent villager your traveling companion. To do so, ask them about jobs, and then click the “let’s explore” option.
As a companion, they will follow you around and fight what you fight and help harvest any trees or stones you try and break down. Make sure you give them a full set of tools so they can actually help you, but thankfully, early-game axes and swords aren’t too costly.
Always have a spare bed
You should always be prepared for a new face to join the village, whether that be a new visiting villager or a friend who’s finally decided to give LEGO Fortnite a try. To not waste any time, make sure a bed is built.
Like with stations, the bed has to be covered, but the basic bed only costs 10 Wood to make.
